The wayfinding system would benefit from a map that could be downloaded and printed or sourced from a tourist office etc. so that the locations are listed and made aware of. I like the visual presentation of Guy Debord's maps based on psychogeography, as they allow for individual interpretations, reflecting how the system is providing the users with interpretations and experiences of the past in Leeds.
Figure 1 shows the main city centre of Leeds, the area in which the locations are contained within so that the wayfinding system can be completed by foot. I drew over the area with a colour so I could start to develop the shape that could be presented on the final map. The top map keeps a lot more detail than the bottom one, something I thought to be important.
Figure 2 focuses on they ways in which I can present the route on top of the mapped background. The problem I had to work around was the fact that the joining of the locations often lead to it looking like the number 4. This is something I had to work to avoid because the number 4 has no relevance to the wayfinding system and I do not want it to become confusing.
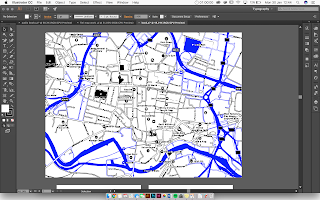
To start the map development, I imported an image of the map of Leeds and image traced it on Adobe Illustrator (Figure 3). This allowed me to visualise the details that I do and do not want to keep and decide on whether to have the background white or black. Figure 4 shows the way that the blue could be incorporated into the design, acting as a frame for the chosen area of Leeds that the wayfinding system is based in.
Figure 5 shows the map that I drew out by manipulating all of the vectors so that they accurately show the roads within Leeds but the visual consistency has been established.
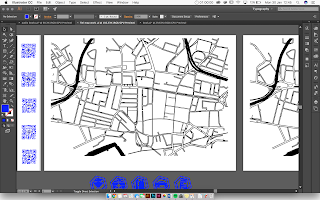
The decision on whether to have the map background black or white was made based on the fact that it would make the whole system fit together if the design style was consistent throughout. The information that is shown when scanned by the QR reader is on a black background with white text and blue imagery. Figure 6 shows that the map can be designed in that same way. The colours were removed so that the particular roads could be easily erased and re-drawn to suit the final style that I was aiming to achieve.
Figure 7 shows the actual route plotted out on top of the map in a shape that best resembles the atomic structure which the whole wayfinding system is inspired by. It was decided that when using a map, people look for the main roads as points that they can use to see if they are heading in the right way. This confirmed to me that the little side roads were not an important part of the map and the simplifying of this would focus the map on only the parts that made the navigation to each of the locations easier for the user (Figure 8). The simplified map with the location route plotted over the top (figure 9) visually fits more successfully with the theme of the whole wayfinding system.
Figure 10 shows a final development of the double-sided map. It is a black background, white roads and then blue wayfinding locations, fitting with the colour palette of the rest of the wayfinding system.
The final map (fig. 11) was designed to include slightly more details than the previous development because it makes it more informative and visually it looks more professional.
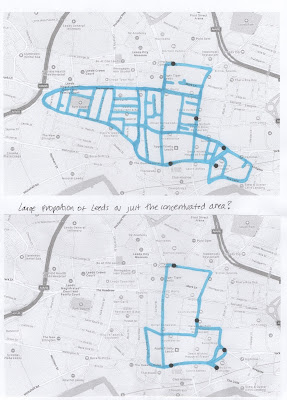 |
| Figure 1 |
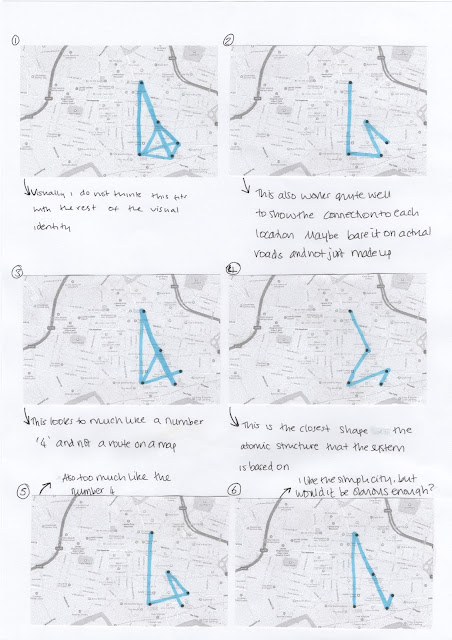 |
| Figure 2 |
 |
| Figure 3 |
 |
| Figure 4 |
 |
| Figure 5 |
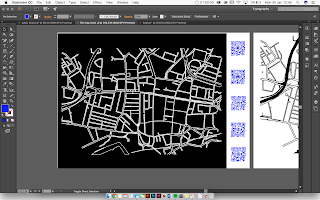 |
| Figure 6 |
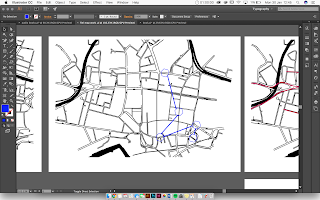 |
| Figure 7 |
 |
| Figure 8 |
 |
| Figure 9 |
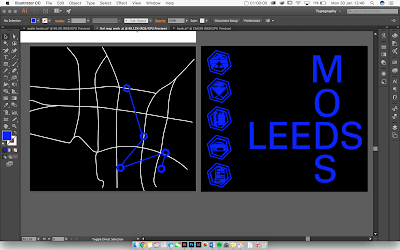 |
| Figure 10 |
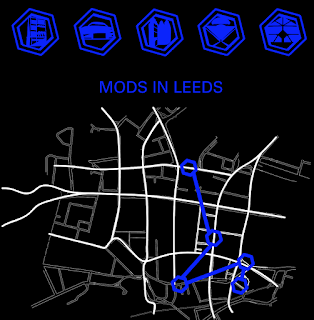 |
| Figure 11 |


No comments:
Post a Comment